Ever Faced a problem of Virtualization is not enabled or VT-x Not enabled while installing Android Studio or Virtual Machine or while playing games. In this case, you have to enable or Turn on Virtualization. This problem occurs usually in Windows so here are steps on How to Turn on Virtualization in Windows?
- To enable virtualization you need to enter the bios of the system which differs in various company laptops.

2. To Enter bios, You need to press the access key while turning on your System. Access key may vary as per different devices, we’re listing a few from well-known Companies.
HP – F10 OR ESC
ACER – F2 OR DELETE
ASUS – F2
DELL – F2
LENOVO – F1 OR F2
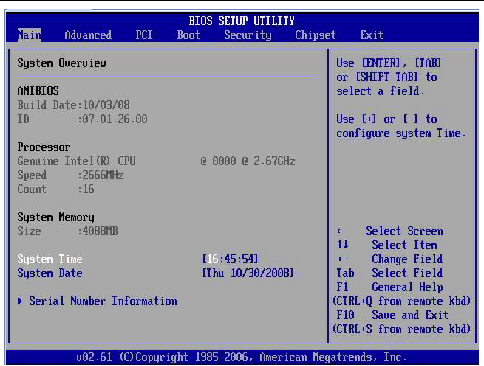
3. Once you enter the bios search for “System Configuration’ and enable the virtualization. Please Not Mouse doesn’t work in BIOS. However, arrow keys can be used.
Once the virtualization is enabled from the bios you may need to disable the Hyper-V under windows. Follow the below step todo so.
- Go to Control Panel
- Programs
- Programs and Features
- Click Turn Windows features on or off
- un-check Hyper-V
- Click OK
Read Also : Vivo V20 Pro 5G Launch Date and Specifications
Click Save if prompted. if you still have doubts you may access the Microsoft Tech community to get solutions or ask us.
To Visit Microsoft Tech Community Click here .


